Showing posts with label crafts. Show all posts

Thursday, February 1, 2018

Valentine's Day Hydrangea Wreath!


It's February! And that means it's time for all things Valentine's! As you know I love decorating for holidays and Valentine's Day is no exception! I love pink and red color combos, I love hearts, and I most definitely love flowers! I guess I just love Valentine's Day!

Wreaths are always an important and favorite part of my home decor and Valentine's Day is no different. Last year I made an Argyle Heart Wreath for Valentine's Day and I love it. But I've gotten so used to having a wreath on the outside and inside of every door of my house, so I had to make another one! Plus, it's really just so much fun!

 My hydrangea wreaths are among my best sellers at craft shows, so I decided to make one in the colors of love ~ pink, red, and off-white! This wreath can really go for any time of the year, but it's extra perfect for Valentine's Day! I also upped the ante and added a burlap bow for something different. You gotta mix it up sometimes.

Keep an eye out! A wreath just like this may end up at one of my craft shows! I was actually going to make a DIY tutorial for this wreath, but I figured why give out my secrets?!? Buy the book! Or in this case, buy the wreath!

This is how it all starts out!

And this is the end result! I really love this wreath! It's easy to see why they are so popular!


Happy Valentine's Day!


Wednesday, December 13, 2017

My Christmas Wreaths


I cannot believe that Christmas is just around the corner already! 

And I have totally been slacking on the blog! I usually post pretty much daily on my Instagram though, so if you are missing me you can check it out. It's sweethome.indiana!

Today, I am going to post all the Christmas Wreaths that I made! I actually sold most of them at my craft shows, so I am very happy about that! The few that I have left are hanging up on various doors at my house. I have one on my front door, one on the inside of my front door, and one on the inside of my backdoor! If I had a fireplace, I'd definitely have one hanging above it too!

In my home, wreaths are a necessity on my front door! It's a great and easy way to spruce up your entry way and welcome guests to your home!

I like to make unique wreaths, ones that you wouldn't normally see. Wreaths that stand out, and that people will cherish as part of their seasonal decor every year! I love all my wreaths and selling them is bittersweet because I would love to keep them all for myself! But, at the same time it makes me happy that someone else wants them as well!

You can check out my facebook page and if you are in the neighborhood you can purchase one of my wreaths or keep up with my shows! I am hoping to do a couple of craft shows in the Spring with some happy Spring and Summer wreaths!


Here are all my Christmas Wreaths, in all their glory:


Poinsettia's are probably my favorite flower! I loved this wreath and since someone already purchased it, I will have to make another one for myself!


This wreath screams vintage to me! I love everything vintage so this was one of my faves!


Santa!

Inspired by a Martha Stewart wreath, this Jingle Bell Wreath surprisingly took me several tries to get right! I had to find the right gauge of wire (I ended up using a hanger!) and of course, the perfect bow!


This is my husband's favorite wreath! We kept it and he added lights to it. It's hanging on our front door!

My brother and sister-in-law bought this wreath from me! It's classic with it's Christmasy red and green color scheme, but also modern with the green berries!


This deco mesh Poinsettia Wreath is ginormous! It does not fit on a front door with a storm door on it! I love it though! It would be perfect above a fireplace! It's currently hanging on the inside of my front door and it looks awesome!


I seriously just discovered buffalo check plaid and I love it!!! Pair it with burlap and holly and you have the perfect farmhouse Christmas wreath!


A glamorous poinsettia wreath!


Classic hydrangea. I made a very, very large one of these for above my sister-in-law's parent's fireplace. I can take orders!


I told you I loved poinsettias!


This was one of my most popular wreaths! I had to make several of them!


Everyone have a Merry Christmas!


Wednesday, November 22, 2017

More Fall Wreaths!


Thanksgiving is almost here, which signals the end of Fall and the beginning of the Christmas season in most people's books!

I thought I'd share the rest of my Fall wreaths before it's too late! I did so well at my first craft show that I decided to enter another one a few weeks later! They are actually a lot of fun! I am planning on doing some more shows in the Spring and again next Fall as well! Now I just need to work on restocking my inventory!

It makes me really happy and proud when someone buys one of my wreaths! I hope they cherish them for a long time as part of their seasonal décor and love them as much as I do!

If you missed my post last month about my first set of Fall Wreaths, you can see it here!

Follow my Facebook page (sweethomeindiana1) for more updates!


Sunday, November 12, 2017

DIY Rustic Fall Floral Arrangement


Last year around Thanksgiving I made an awesome faux floral arrangement for the centerpiece of my Fall table. It was so beautiful and easy to make that I had been dying to make another one this year. I also wanted to make something to put on my little table at my craft shows to dress it up a bit.

This year's arrangement is a little less formal and not necessarily for my dining room table. It's more rustic Fall farmhouse style with it's yellow and red Fall flowers, orange hydrangeas, and cotton stems, and of course, it's mason jar vase!

I went to Hobby Lobby and got several different Autumn picks. If you're unfamiliar with what a pick is, it's the little flowers, pumpkins, and Fall accoutrements that have a stem or something to stick in a wreath or floral arrangement. I also got a single Ball mason jar there to put them in.

When I got home, I arranged the flowers the way that I liked them best and tied them off with a rubber band. That way, they would stay in place and not flop all over the jar. Then, I simply put them in the mason jar! That's it! Easy!

Use as many picks as you need to fill the jar and whatever kinds you like! I was going for a Fall mix and I really liked the tall berries sticking out of the flowers. It added more height. I also really liked the fact that there were some leaves in with the flowers to give it some interest. And of course, you can't go wrong with a cotton stem! 


I arranged the flowers how I liked them best.


And then I rubberbanded them together at the base of the flowers to hold them in place.


Simply put them in the jar and you're finished! A perfect Fall floral arrangement for anywhere you need a pop of Fall color!


Sunday, October 22, 2017

DIY Ghost Gourd!


 Halloween is my favorite holiday and I especially love decorating my home for it!

For years I've wanted to do a gourd craft, but all the tutorials out there seemed to require a lot of work, starting with drying out the gourds for almost a year! I was so happy when I discovered that my favorite pumpkin patch sold already dried gourds!

I decided to do a ghost gourd for Halloween and it was super easy! All I needed was white spray paint and a little bit of black paint for the face.

Dried gourds tend to be very ugly and dirty looking. I tried to scrub off the dirt and flaky stuff as best I could with a scrub brush. There were still a lot of uneven areas, but it's natural and just added to the rustic, spookiness of the ghost! Most dried gourds will also have moldy looking spots on them, so I used a spray paint that covered mold and water stains. It worked perfectly and I feel okay with it in my house now!

This was really my first time using spray paint so I got a few drips and runs here and there. Afterwards, my husband told me to use short bursts of paint and don't get too close to whatever you are painting. Now I know for my next gourd!

My DIY Ghost Gourd was so quick, fun, and easy, I will definitely be making more of them! 


Gourds come in many different shapes and sizes! I dug through this pile of already dried gourds to find the perfect ones for my Ghost Gourds!


My gourd, all spray painted and ready for his face! Obviously, wait for the white paint to dry before you put the face on!


Next step, paint the face! I used this black enamel paint because I already had it. It's a bit like carving a pumpkin. You may want to draw on the face before you paint to make sure it's how you want it!


Exactly what I wanted! I love when that happens! This little guy is the perfect addition to all the rest of my Halloween decor! You can decorate both the inside and outside of your house with gourd ghosts!


BOO!


 Happy Halloween!

Saturday, October 7, 2017

My Fall Wreaths


 I love a good wreath! It really makes your front door pop and welcomes guests to your home. It is the perfect finishing touch for your front porch decor!

For the past several years, I have been making my own wreaths. They are actually very easy to put together and I love to design my own. I made my first wreath about ten years ago when I moved into my very own apartment. I got a very cheap and flimsy Fall leaf garland from Walmart and fashioned it into a circle with floral wire. That was it, and it served me well for almost a decade until I decided to make a new one. Then, it was like I could not be stopped! I just kept on making more wreaths, not just for Fall, but for every season and holiday possible!

Now, I have decided to take my wreaths public and hopefully make a few extra bucks! I entered a very prestigious craft show here in Fort Wayne, The Deer Ridge Holly Days Craft Show, and they actually let me in! Making wreaths, planning out my booth, and praying that someone will buy my wreaths has consumed every waking moment here lately! That is why I have been slacking on the blogging front, so I thought it was time to do a post about my wreaths!

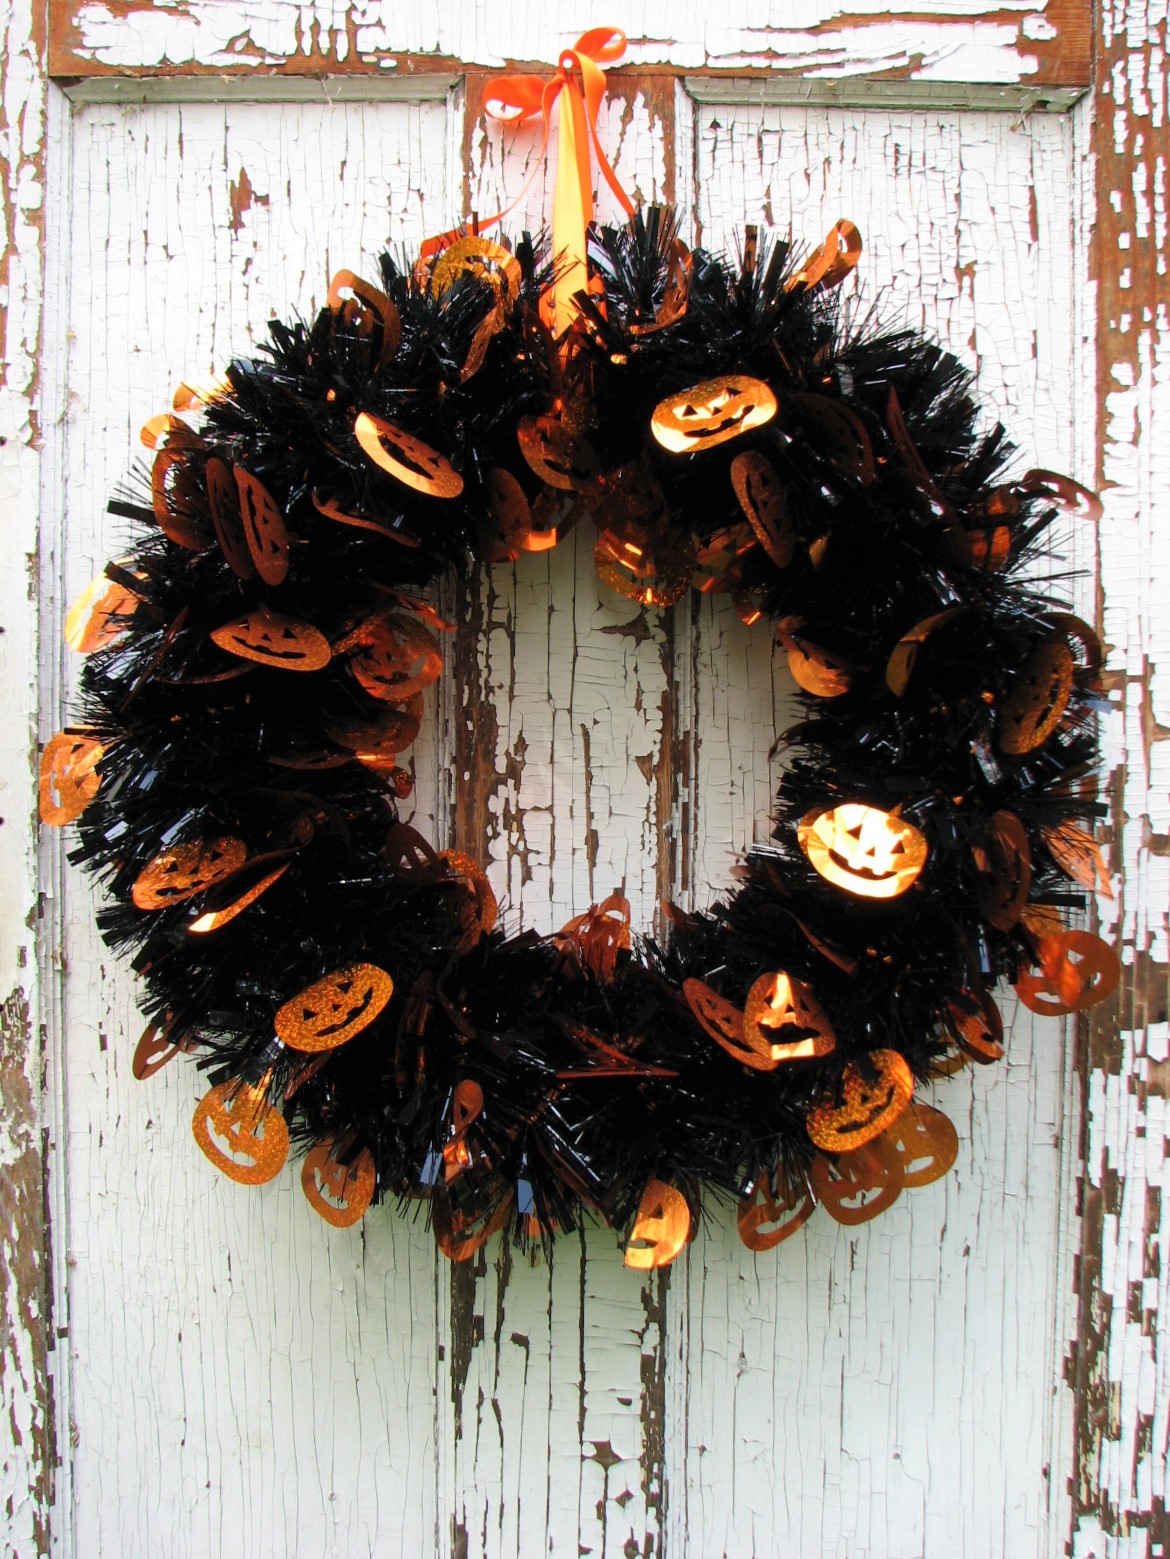
I did a photo shoot last weekend because I am going to have a book of my wreaths that people can order from at my craft booth. I used an old, chippy antique door we salvaged as the backdrop and it worked out perfectly! Right now, I just photographed the Fall wreaths. I have a lot of Christmas wreaths I've made and I need to make more, but it's so hard to get into the Christmas mood in September and October! I'm all about Fall! It is my favorite season after all!

Here are some of my Fall wreaths that I've done so far. I have a lot more that are half finished that I need to work on and I better get on it, because the show is in two weeks! Yikes! I am nervous and excited at the same time! If you see any you like, and are in the Fort Wayne area, stop by the Deer Ridge Craft Show on October 21 and buy one! And say hello too!

Wish me luck!!!


Friday, June 23, 2017

DIY Starfish Art


 Have you ever seen something that you just had to have and then looked at the price tag and cringed?

When I was on Sanibel Island, Florida I found an awesome starfish art piece in a shop, but the price tag was astronomical! Close to $1000! I knew it would be perfect in my beach inspired bathroom, but there was no way I could ever afford that!

The next shop we went into was She Sells Sea Shells, a shop full of what else ~ sea shells and other creatures that come from the ocean. It was there that I had an epiphany. I could make my own starfish art piece! I bought a few similarly sized starfish with the intention of re-creating that super expensive artwork.

When I got home I set about finding an exact replica of the glass-backed tarnished metal frame like the one from the expensive shop. Turns out, I couldn't find anything even remotely close to that.

But, I did stumble across a driftwood-esque shadow box on sale at Michael's craft store and had an idea. I would simply paint the background the same color as my bathroom wall so the starfish would fade into the background and look just like the expensive one at Sanibel! I figured you'd never be able to tell there was a back on my frame!

I finally got around to making it this past week and it actually turned out exactly how I imagined it would! How often does that happen?!? It looks awesome!

 My DIY starfish art was very easy to do and ended up being super cheap too! And I love it even more than the $1000 one because I made it myself!

Here's what I did:

The supplies: a shadowbox, a few starfish, and some left over paint from my bathroom!

I painted the background of the shadowbox with my left over bathroom paint.

All dry and ready to attach the starfish!

I positioned the starfish where I wanted them

Looks good! Time to glue!

I simply hot glued the starfish to the back of the shadow box.

All finished! It literally took less than five minutes after I painted the backing!

I am so happy with the way it turned out! It was exactly what I was going for! And it will look perfect hanging in the bathroom!

I have yet to hang it, but it looks awesome with all my other beachy bathroom decor! I may actually leave it here for a bit!